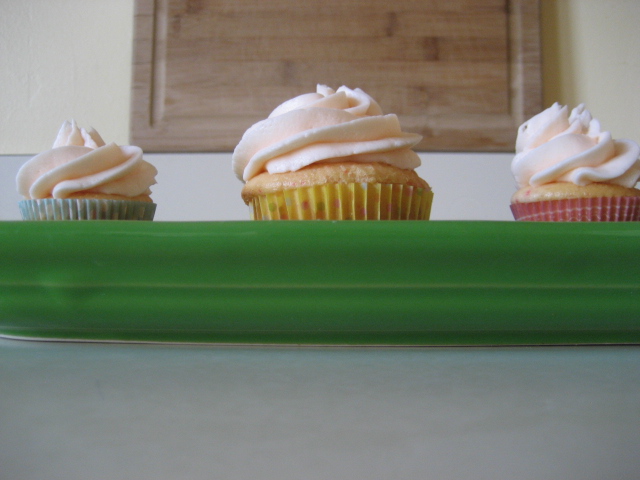
When I was a kid I loved Cherry Chip Cupcakes. Not only because they were pink, although that was a big part of it, but because they were sweet and soft and they are the kind of cupcake that you can't stop eating.
For the cupcakes you will need...
-One box of Betty Crocker Cherry Chip Cake Mix
-3 Large Eggs
-1 1/4 Cups Water
-1/3 Cup Vegetable or Canola Oil
Prepare cupcake according to cake mix box directions
Line cupcake pans
Fill 2/3 the way full and bake according to the directions on the cake mix box
Cool on wire rack
For the frosting you will need...
-2 sticks unsalted butter, softened
-2 1/2 cups confectioners' sugar
-1 teaspoon imitation cherry extract
-1/4 teaspoon vanilla
If you are planning on piling your cupcakes up high with frosting, you will need to double the recipe above, if you are just lightly frosting, this amount should do.
Put the butter in the bowl of an electric mixer and add the confectioners' sugar (you can sift the sugar if you like, I do because I enjoy sifting, but if you don't, you don't have to). Start the mixer on low and watch it very carefully so you don't get sugar all over your kitchen. As the butter and sugar come together increase the speed until they are thoroughly combined. Then add a tablespoon of milk and mix. Then add little more milk if you like, to achieve the desired consistency. Now add the extracts. Please note I did not add any food coloring to the frosting, the color came from the cherry extract. If you would like more color try adding pink or red food coloring until you get the color you want.
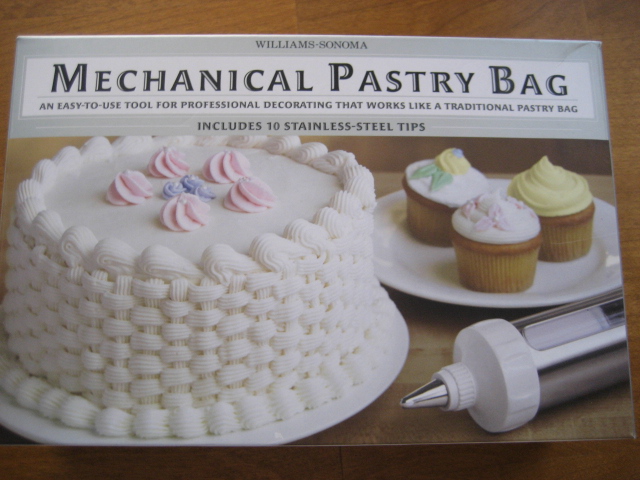
So a big part of the reason I decided to make these cupcakes was because I really wanted to try out my new mechanical pastry bag that my sweet husband gave me for Christmas. After Christmas I was so burnt out on sweets I haven't felt much like making buttercream frosting until now. With Valentine's Day around the corner I felt it was time to break out my new toy and see what it can do!


